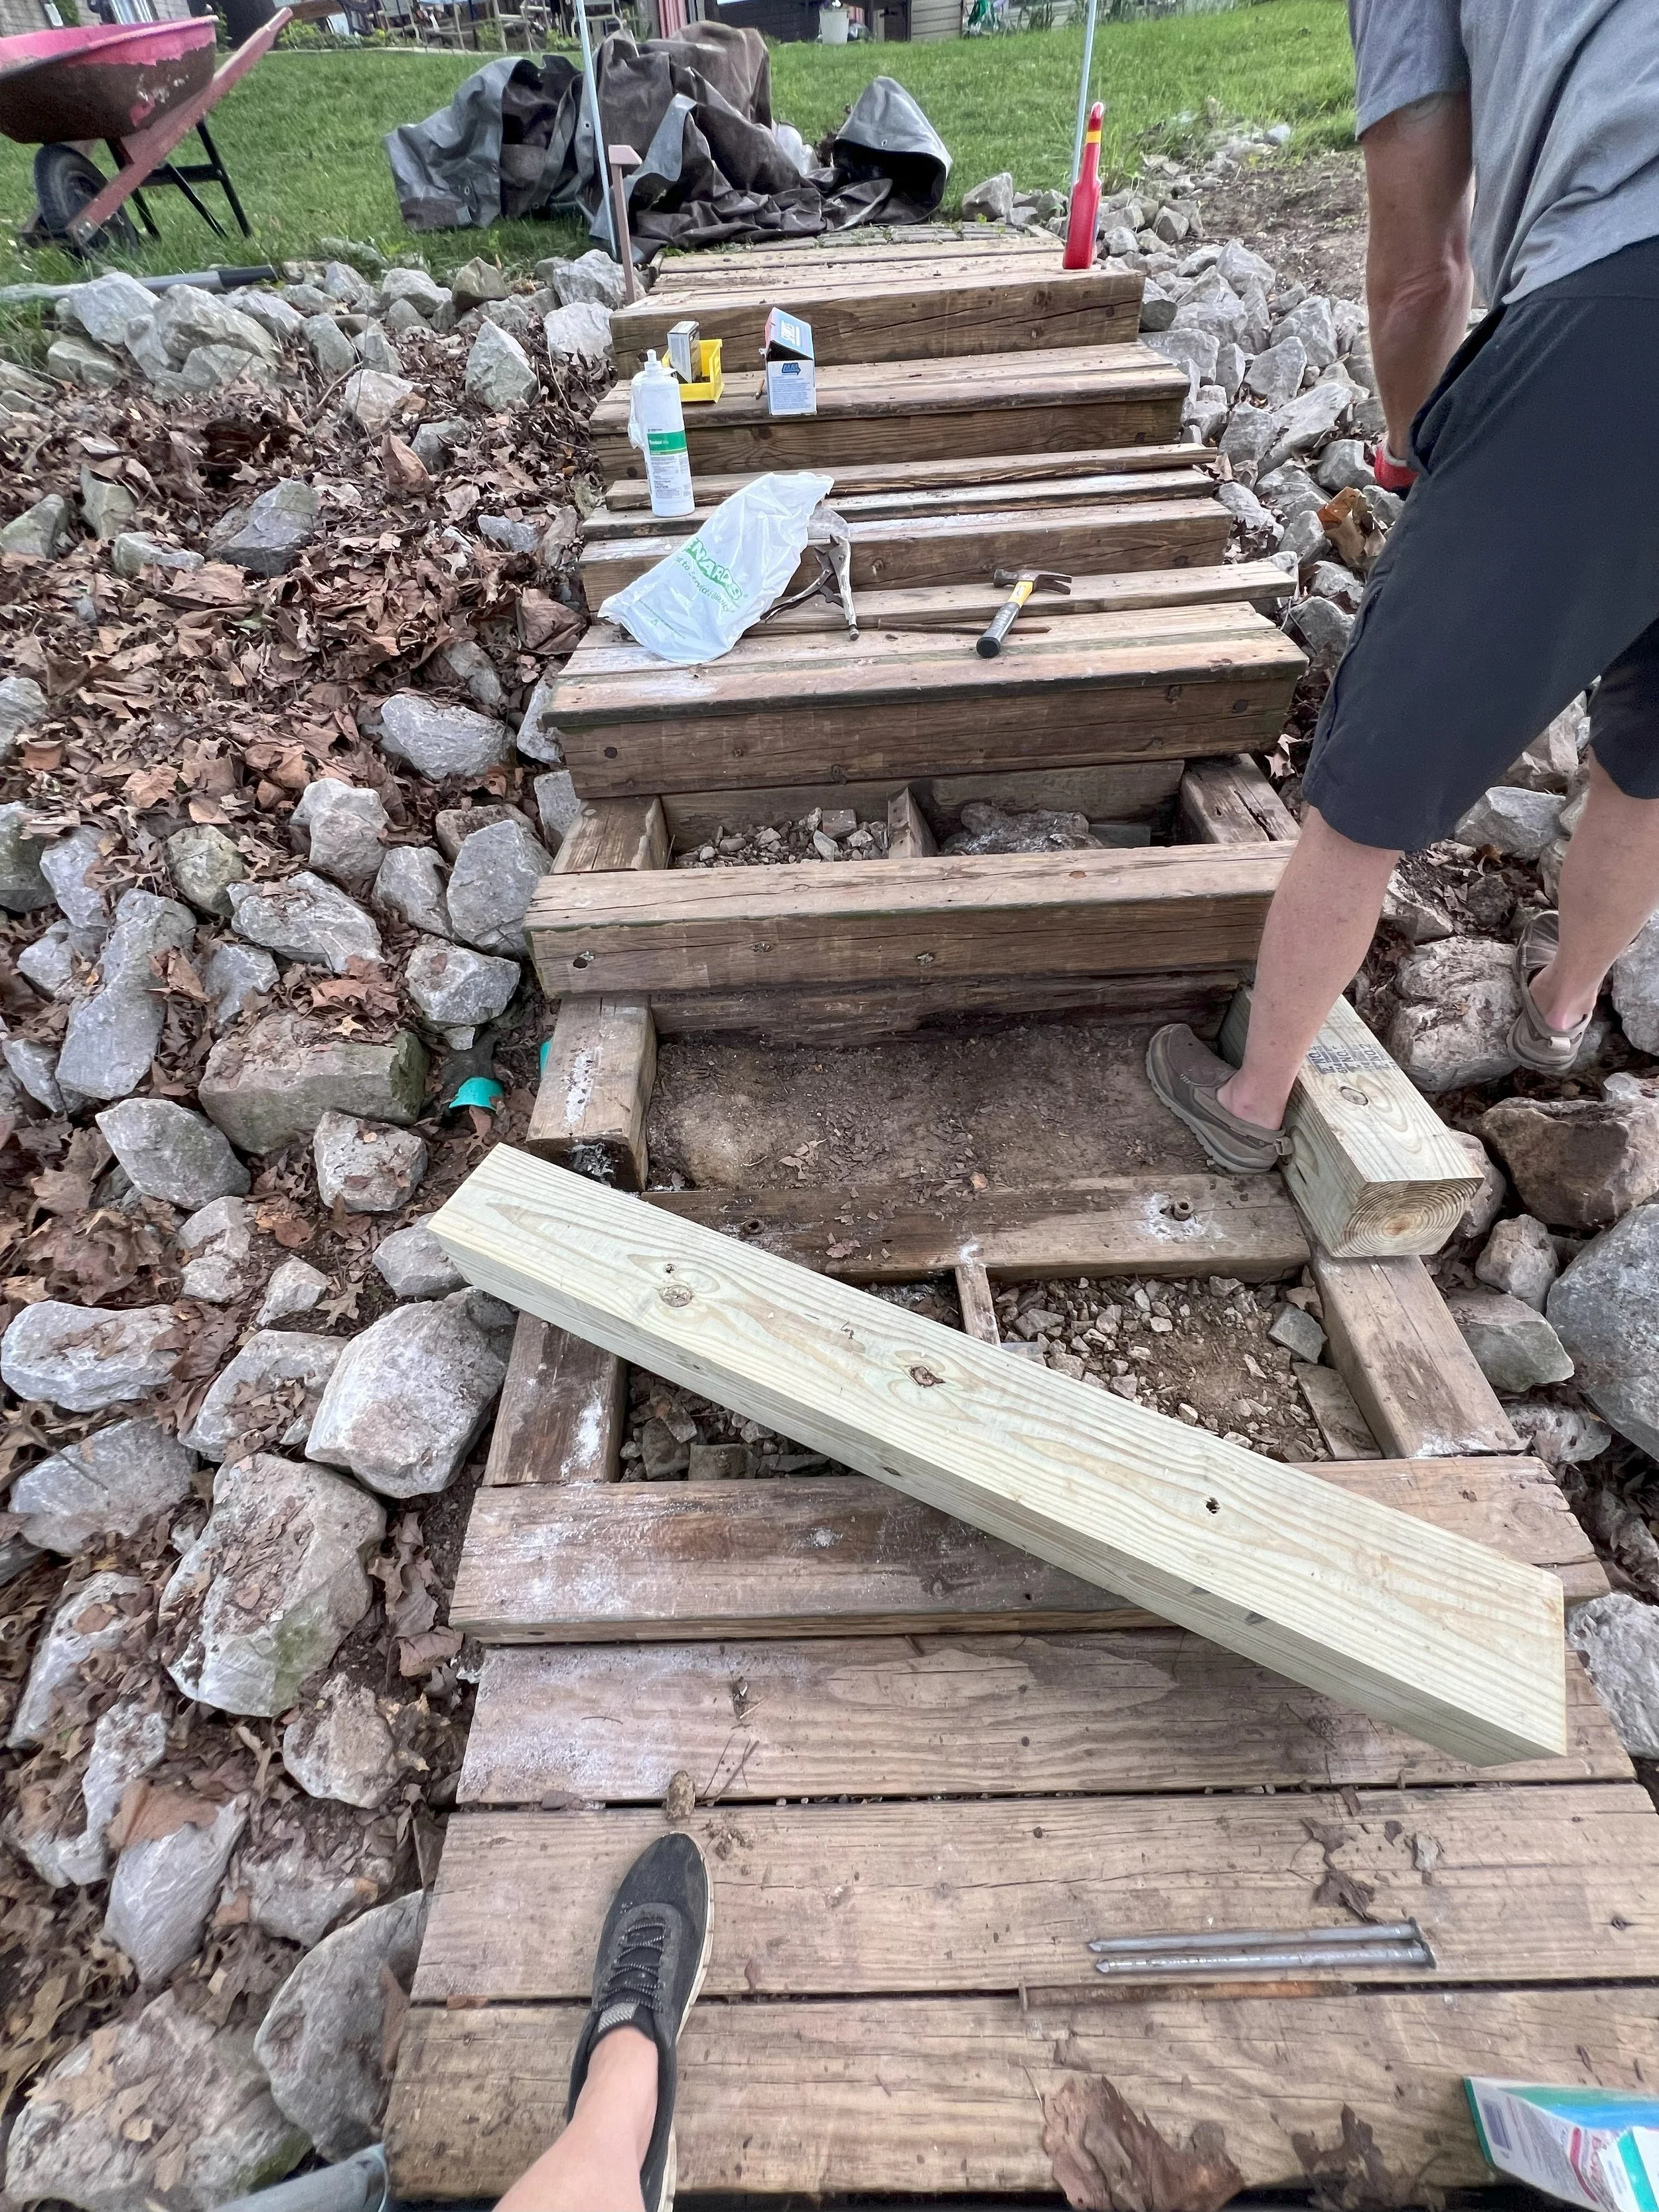
Restoring Our Dock Steps: A DIY Guide

Owning waterfront property with a dock brings joy and responsibility. Over time, the elements can take a toll on your dock steps, especially if made from pressure-treated wood. You can restore your dock steps to their former glory with essential tools and materials. Here's a step-by-step guide on repairing pressure-treated dock steps using true 1” x 6” x 8’ boards (Menard’s calls it premium decking) for treads and 6” x 6” x 8’ treated lumber for supports.
Assessing the Damage
Before diving into repairs, carefully inspect your dock steps for signs of rot, cracks, or structural weaknesses. If the damage is extensive or affects the integrity of the steps, consider replacing entire sections rather than attempting repairs. In our case, one of the support timbers was infested with carpenter ants, so we determined replacement of that section was necessary. We did a quick internet search to see how to kill carpenter ants so they didn't invade the other steps. We used Borax to kill the ants, an easy and inexpensive way to treat the problem.


Materials You'll Need:
1. True 1” x 6” x 8’ Green-Treated Boards: These will be used for the treads of the steps.
2. 6” x 6” x 8’ AC2 Critical Structure Green Treated Lumber: These timbers support the steps, are treated for ground contact and help reinforce the structure.
3. Grip Fast® #9 x 3 1/2" Star Drive T25 Tan Flat Head Triple Coated Exterior Deck Screws - 1 lb. Box. A couple of points here. Our stairs are over 10 years old and attached using 2” Phillips head deck screws. We took the opportunity to replace those screws.
4. Grip Fast® 12" Bright Smooth Shank Common Spike Nails
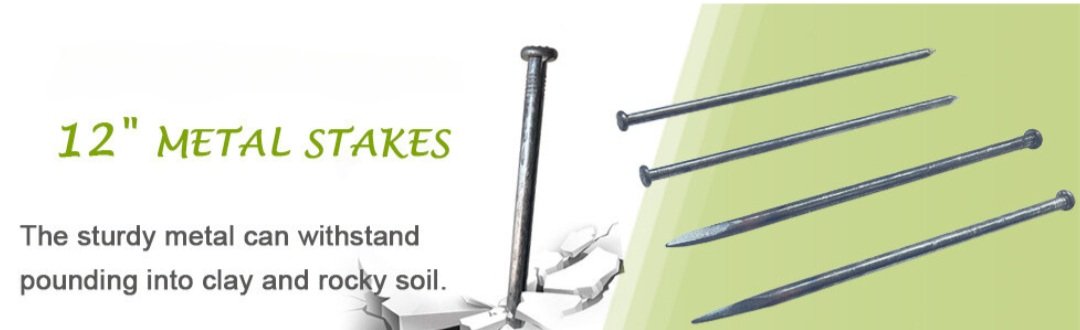
Common Spike Nails or Metal Stakes
We used 12” common metal spikes to pound through the 6” timbers.
Tools:
1. Saws
a. Chop saw: This is super convenient for cutting the decking for the steps, but it is not so good for cutting timbers.
b. Circular Saw: Useful for cutting boards and timbers to size.
c. Hand saw – We used a Kobalt 20” aggressive tooth to cut through the last square inch or two of the 6” x 6” timber
d. Reciprocating and/or Hack saw – to separate the seemingly impossible common spikes from the replaced timbers.
2. Hammers
a. Standard household hammer to pull out stubborn screws
b. 10-pound sledgehammer to set timbers, hammer down the common spikes, and separate previously assembled stairs
3. Bosch T 25 bits for the 3.5" #9 Gold Triple Coated Deck Screws for fastening the steps to the timbers.
4. 36” and 12” prybars – Great for aligning and separating timbers
5. Measuring Tape and Carpenter's Square or Triangle: To ensure precise measurements, straight lines, and accurate cuts.
6. Level: Ensures your steps are even and safe.
7. Sawhorses, a table, or a level surface to cut. This is especially helpful when wrestling with the timbers.
8. Safety Gear: Gloves and safety glasses.
Step-by-Step Repair Process:
1. Remove Damaged Parts:
Start by carefully removing any damaged or rotten boards from the steps. Use a pry bar or hammer to pry them loose gently. If nails or screws are stubborn, use a reciprocating or hacksaw to cut through them.
2. If the wood is infested with carpenter ants, spread Borax over the entire area to kill them. Borax takes 1-2 days to work on ants. It kills ants and the colony members they share food with!

Carpenter Ants
We poured Borax over the carpenter ants and then waited a day or so for them to die.
3. While the steps are off the stair framing, this can also be an excellent opportunity to add fill rock underneath the stairs for additional support or erosion control, depending upon your application or situation.
4. Cut Then Install Support Timbers:
Cut the 6" x 6" x 8' treated lumber to the desired lengths for the supports under each step. Since the timbers are attached to both the ground and existing structure, aligning and predrilling the holes for the common spikes is helpful. Since our steps are 48” wide, we marked each side of the timbers, cut the supporting timbers to length using a circular saw, and rotated the timbers as we cut through the sides. Due to the timber’s size, we had about a 2-inch square section in the middle, which required us to handsaw the remainder.
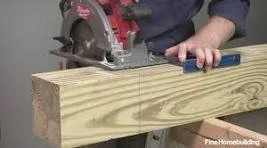
Cutting the timber
Mark all sides of the 6" x 6" timber at the desired length, then cut with a circular saw. The middle section will require a handsaw to finish the cut.
To simplify the process, we measured and predrilled the holes for the common spikes to match the existing structure. We used a ½" spade bit and our old DeWalt 12-volt cordless drill to predrill the holes. The timber was pretty wet. Hence, the drilling was reasonably straightforward. Once all the holes were drilled, we used a sledgehammer to pound the 12" nails through the timbers into the ground and existing structure as appropriate.
We ran into an issue with a tree root near the support side timber, so we had to cut the root out, which was way more difficult than the rest of the project since it was difficult to reach!

The biggest obstacle!
The most difficult part of this project was extracting this tree root under one of the supports.
5. Cut Replacement Boards:
Measure the dimensions of the existing step treads that need replacement. We used a chop saw to cut the true 1" x 6” x 8' boards to the appropriate lengths.
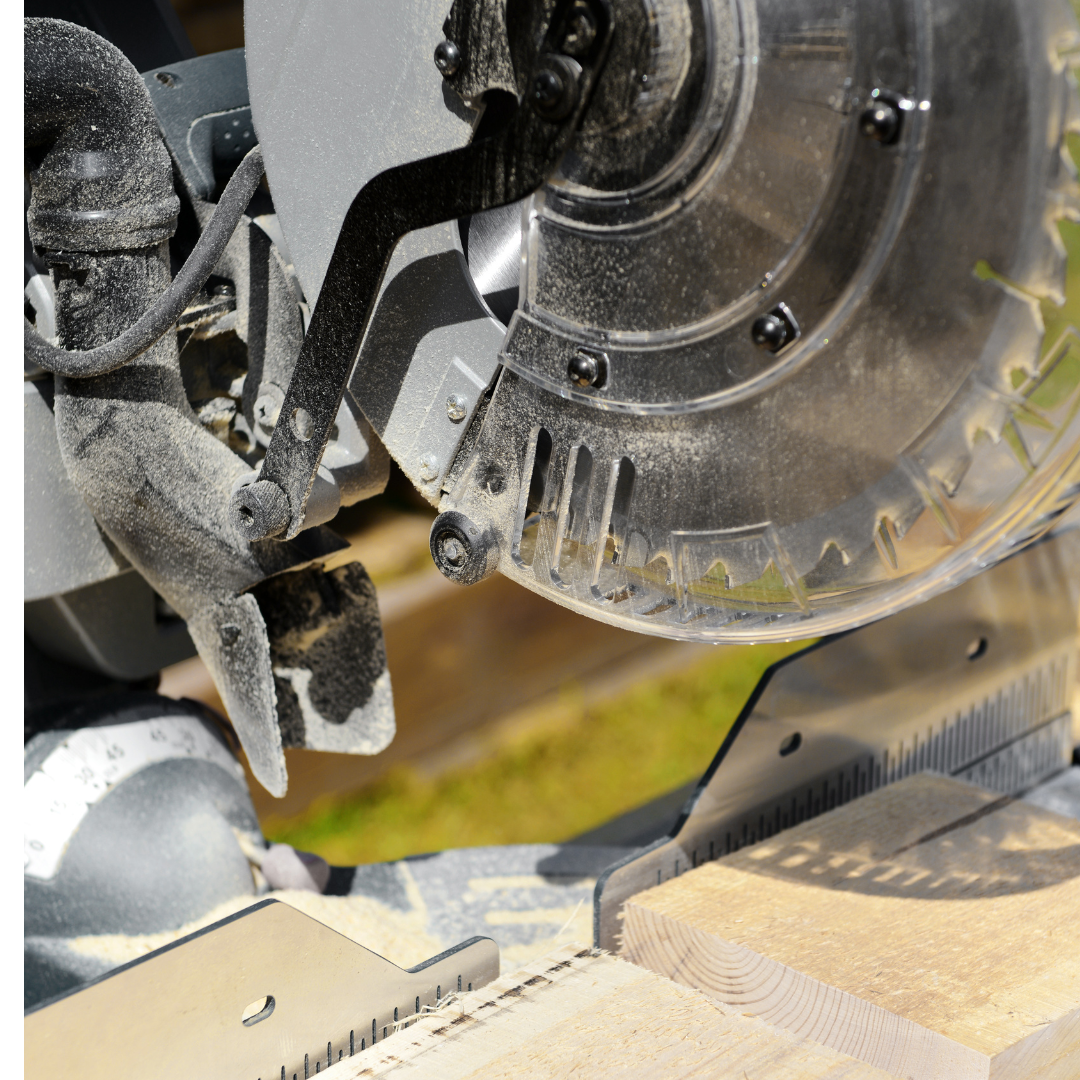
Use the chop saw to cut the step treads
6. Replace Step Treads:
Position the newly cut true 1" x6" boards onto the step framework. Ensure they fit snugly and are level. Secure them in place using nails or screws (we used Grip Fast® #9 x 3 1/2" Star Drive T25 Tan Flat Head Triple Coated Exterior Deck Screws), driving fasteners through the boards into the underlying structure.
7. Check and Adjust:
Once all replacement boards and timbers are in place, double-check the alignment and level of each step. Use a level to ensure they are flat and even. Make any necessary adjustments before proceeding.
8. Finishing Touches:
If desired, apply a coat of waterproof sealant or paint to protect the newly repaired steps from future weathering and extend their lifespan. It’s best to wait 12+ months before doing this so the treated lumber is completely dry.
9. Regular Maintenance:
To prolong the life of your repaired dock steps, perform regular inspections and maintenance. Check for signs of wear, water damage, or loose fasteners. Address any issues promptly to prevent further damage.
Shoreline Cleanup
After completing the necessary steps outlined in the plan, we dedicated several days to meticulously clearing leaves, sticks, and other debris scattered along the riprap lining the shoreline. We cut several bushes from the area and then used Tordon Rtu Specialty Herbicide to kill the woody plants. The effort we put into this task significantly enhanced the overall tidiness and appearance of the property.


Power Washing
After meticulously power-washing the stairs and dock, they gleam in the sunlight, completely revitalizing the waterfront area's look and feel.
Conclusion
Repairing pressure-treated dock steps with true 1" x 6" x 8' boards for treads and 6" x 6" x 8' treated lumber for supports is a manageable DIY project that can rejuvenate your waterfront access. Following these steps and using suitable materials ensures your dock steps remain safe and sturdy for years. Safety is paramount during construction, so always use appropriate safety gear and techniques. Enjoy your renewed dock steps and enhanced beauty and functionality on your waterfront property!
This page contains affiliate links. If you choose to purchase after clicking a link, I may receive a commission at no extra cost to you.